
Off the top of your head could you tell me how to cook a chicken breast on the stove-top? Do you know how long one ought to cook each side? Do you know the secret of not getting burned by oil splatters? A month ago, I could not answer these questions. I was under the mistaken impression that cooking a chicken breast was a piece of cake. I have learned otherwise by doing my research.
I thought this was one skill I ought to have in my tool kit in the kitchen since chicken is so versatile. Plus, salad season is here and so convenient to have a chicken breast already cooked to make the salad a main meal.
One method that I repeatedly found on the web was to heat oil in a skillet. Once the pan was hot, place the chicken breast and wait 5-10 minutes, flip and do the same. Then, let the chicken breast rest for 10 minutes. The secret to realizing that it is done, is by making sure the chicken is completely free of pink. When I tried doing this it was a little pink in the middle, not completely finished. This method left me with a pretty crisp exterior and not so moist interior.
Very few recipes addressed the problem of oil splatters during this process. Oil splatters are caused by the juices of the meat connecting with the oil. Here are a variety of solutions that are being touted. The splatter guard comes in different materials, shapes and sizes to put over the pan. A deeper pan and thinner meat are another solution. I had not been aware of the splatter guard until a week ago. I was all ready to purchase one, when my pan with a lid came into my line of vision. Aaah…that is why covered pans were invented and I already have a built in splatter screen. Love these little epiphanies.
A method that I have been using for a long time and did not cause oil splatters was cooking chicken breasts in a Crock Pot. I would put a bunch of chicken breast in the pot and cook with chicken broth, enough to cover the chicken and set the pot for 3 hours on high. It was a a pretty mess-free method and worked for me for some time.
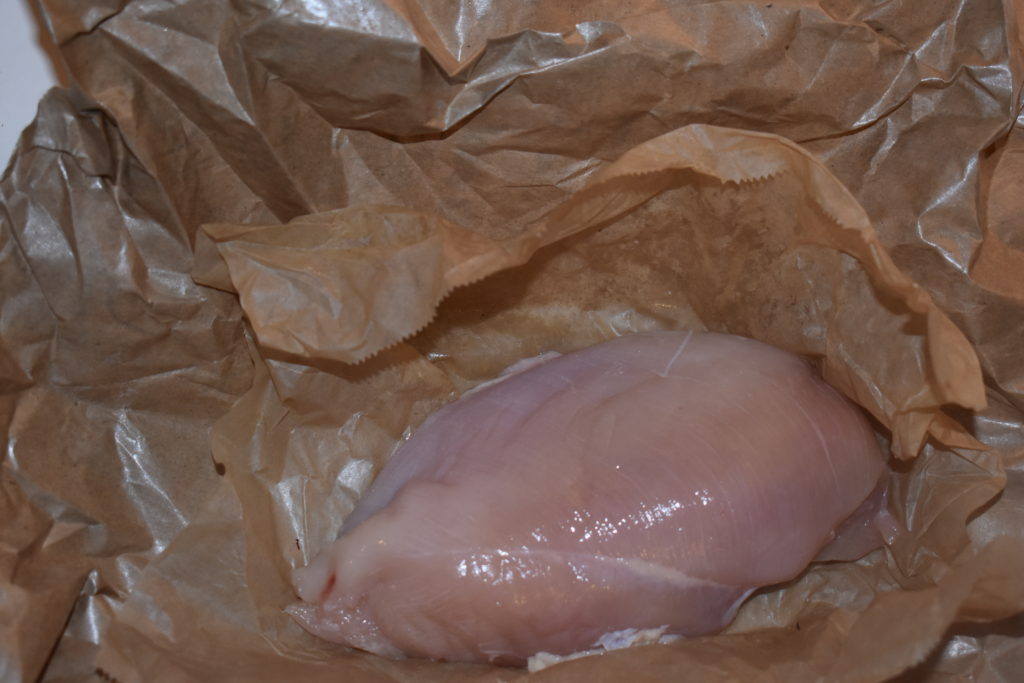
Then I was doing research and landed on the Joy of Cooking method which you will see linked often in this site. This is my preferred way to cook a chicken breast. I cook them as I get them from the butcher without slicing them and making them into fillets.
There are cooks who prefer cooking chicken in that pan with a lid. I am finding that a timer is a key tool to have in the kitchen and necessary for cooking a tender chicken breast. One heats the chicken for a minute and then flips it over, covers for ten minutes. At the ten minute mark, turn the stove off and let the chicken hang out in the covered pan for 10 minutes. So it is a 20-25 minute process to cook a chicken breast on the stove. Good information to know, so you can give yourself enough time. I always thought it took half the time. I am continuing to learn the lesson of patience in the kitchen.
Most instructions I have read regarding cooking a chicken breast have said to let the chicken rest for 10 minutes before cutting and eating it. Why does the chicken need a rest after cooking? was my question. According to this article by the Kitchn, the meat/poultry needs time to redistribute all the juices. If you want more scientific reasoning check out the food lab dude’s response here.
So here is my go to method in picture form. Let me know if this is changing your world.
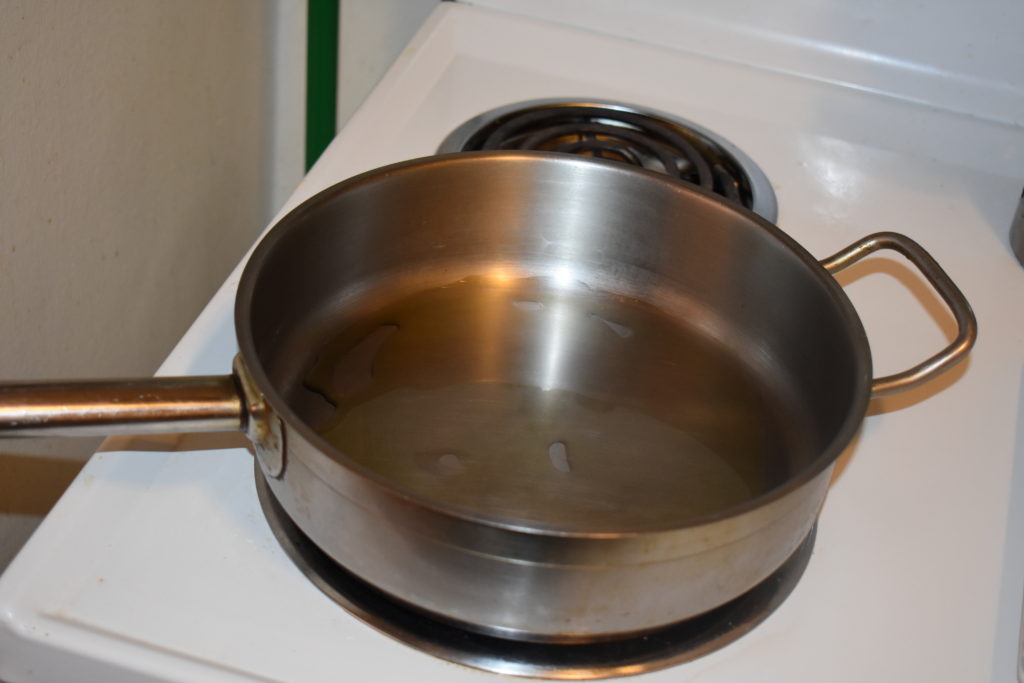
Add oil to a pan. About 1 tablespoon, enough that the pan is coated. Heat the pan on medium heat. Wait til the pan is hot.

Salt and pepper the chicken to your liking.
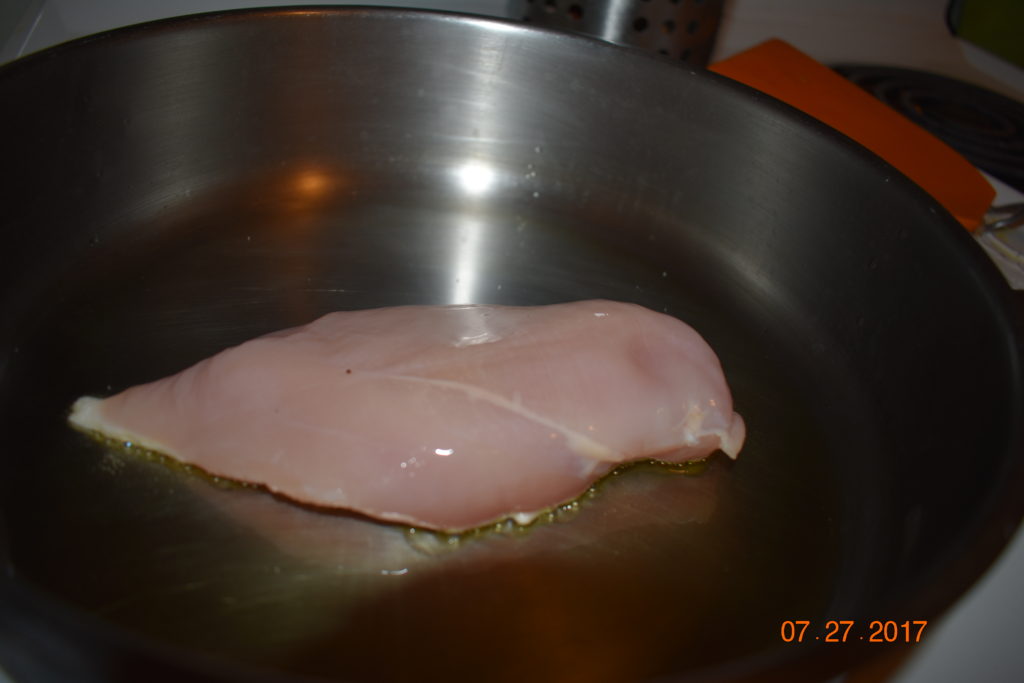
Place the chicken into the hot pan.

Set the timer for two minutes.
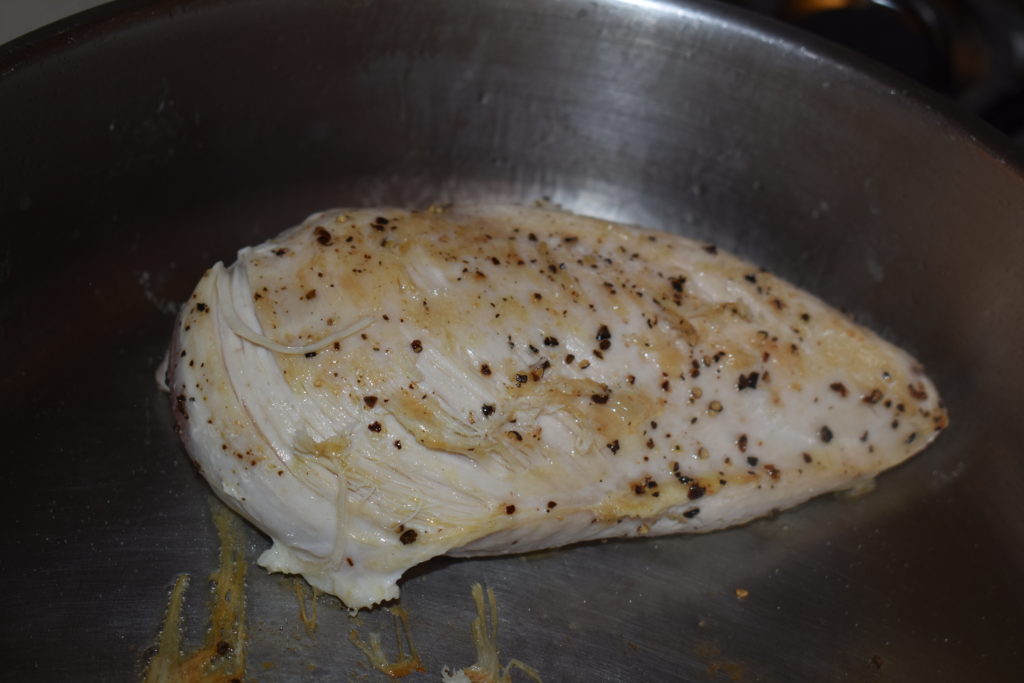
Once the timer goes off. Flip the chicken.
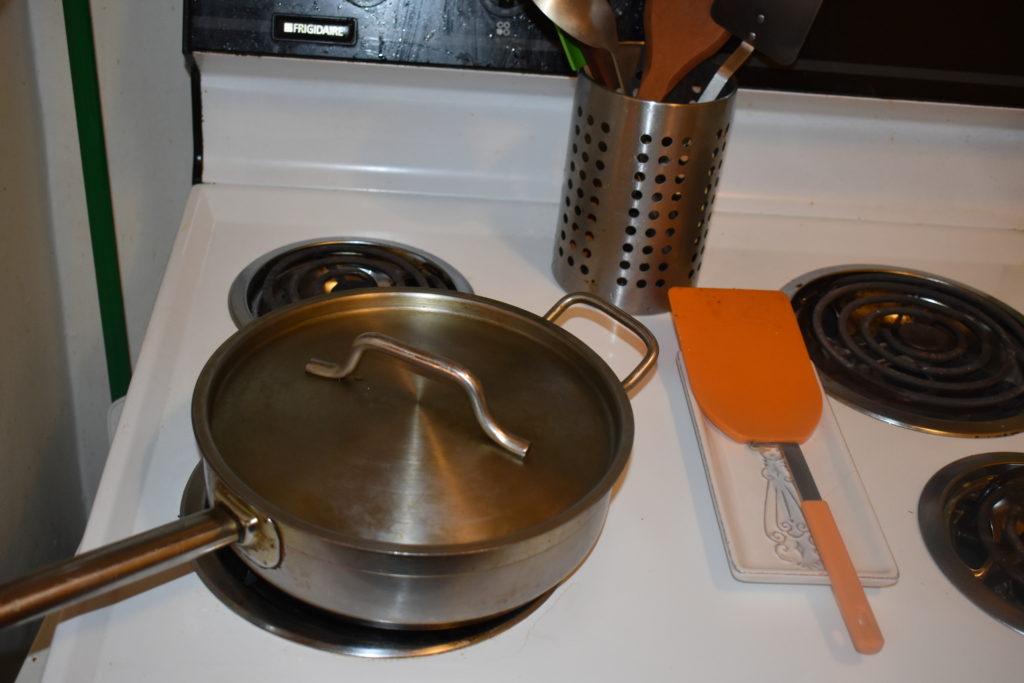
Put a lid on the pan with the chicken in it.

Set the timer for ten minutes. One the timer goes off, remove the pan of chicken off the burner and turn the stove off. Keep the lid on.
Set the timer again for ten minutes and let the chicken rest.

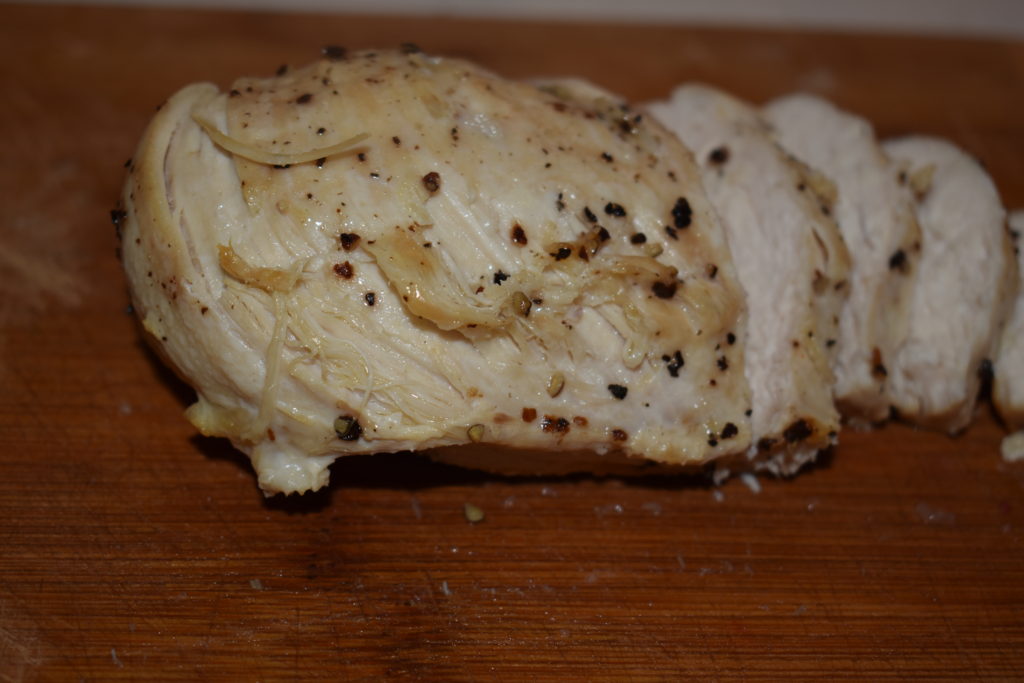
Once the chicken has rested. Remove from the pan and cut as needed. Of course enjoy the accomplishment of cooking a moist chicken breast. High five to you!